


Pretty Skies through Shaders
For the full version of Super Sky Sisters I wanted to spend some time making a really cool looking sky backdrop for the action to take place on. The original prototype has a decent looking sky, but I think I whipped it up in under an hour and looking back at it now it looks like crap.
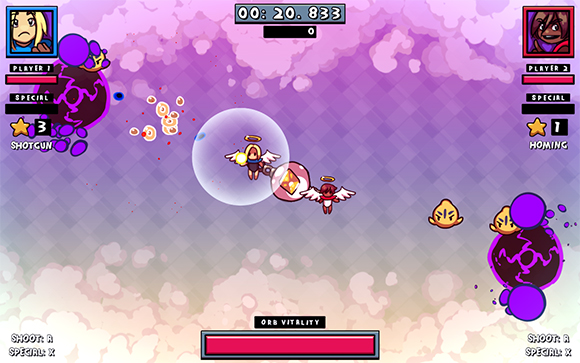
So I turned to my old friend Photoshop for some advice. I played around with various ways of making a cool looking sky, and I eventually I came back around to using a Gradient Map to manage the colors of a black and white image. If you didn't know, I'm a huge fan of using gradient maps. When it comes to high resolution art I tend to have a lot of trouble with choosing palettes and maintaining that palette through the painting. It's really easy to muddy up the colors if I start eye dropping the wrong parts of the image, and working in high res really makes me miss the amount of control I have over my palette when working with pixel art... but gradient maps are a good band aid for this!
I feel like a broken record with gradient maps so I won't go into too much detail for this post on what they are. To put it simply an image's colors can be remapped to a new set of colors based on lightness. Here's a quick example of what that means.
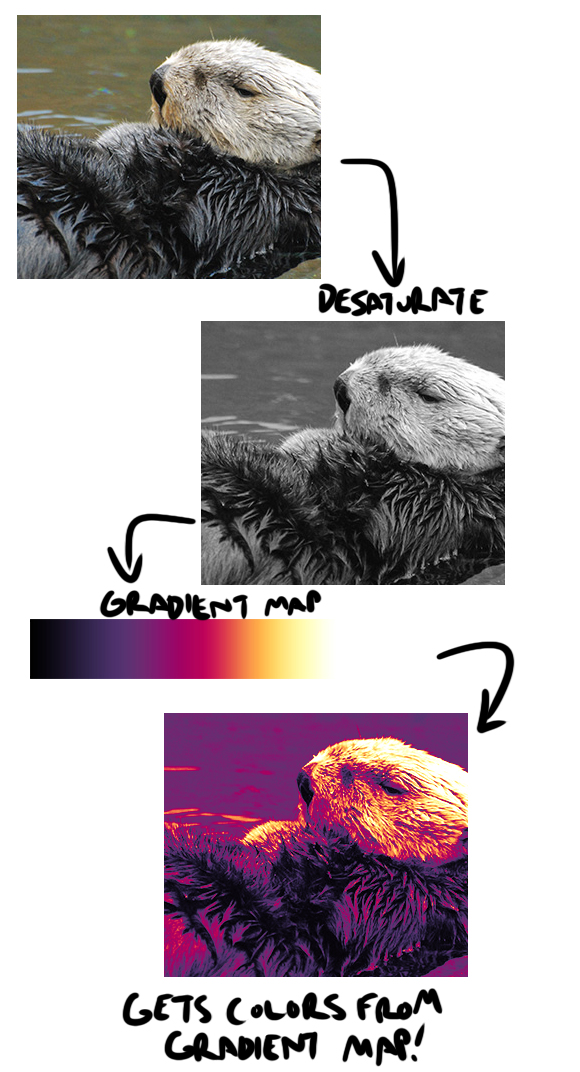
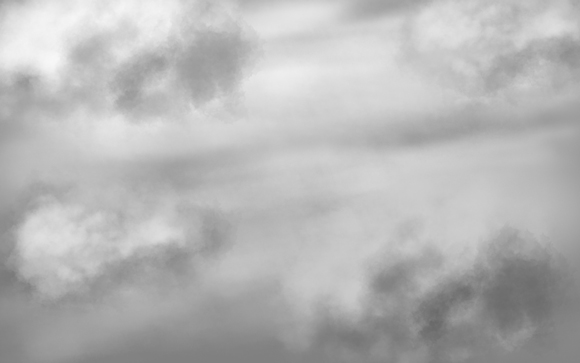
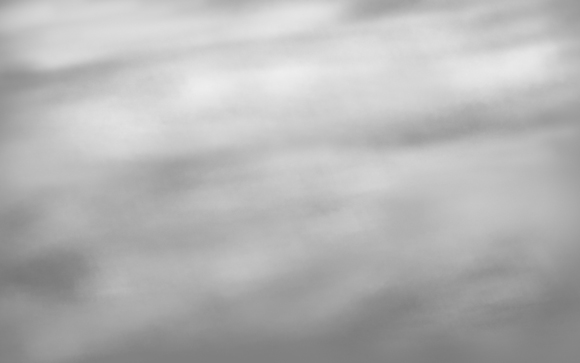
So how can I use this for painting skies? By using a gradient map to take care of all the colors all I have to do is paint up something in grayscale first...
And then I can spend a little time making a nice sky colored gradient...

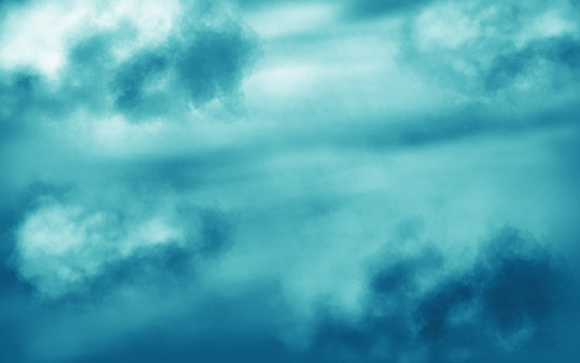
Then I can apply that to the image as a gradient map and like some kind of magic my image has awesome colors!
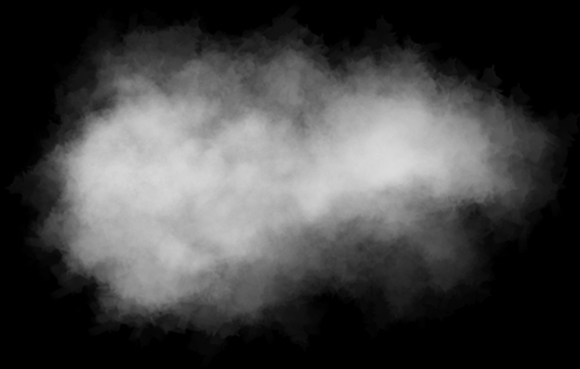
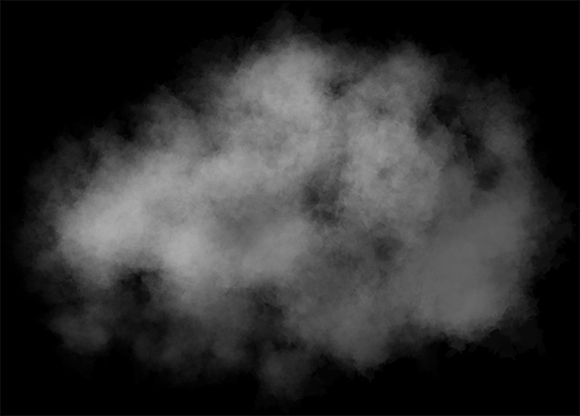
My idea for the sky at this point was to have one static sky image, and then decorate it with a bunch of varied cloud sprites. The total amount of assets I use for rendering the sky are as follows:
My first thought at this point was to just apply the gradient map to the asset directly and export it with the blue colors baked in. If I did it that way then I wouldn't need to worry about using any shaders in the game, and I thought that would be the best bet, but I quickly ran into an issue with the color.
It turns out baking a gradient map into an image with alpha has pretty undesirable results. Check out how one of the clouds look when the gradient map is baked in.

When using these sprites on top of an already baked in sky background I end up getting some colors that are less than ideal. Some parts come out grey and white and black which can look pretty ugly. So I ended up scrapping the whole baked in gradient map idea.
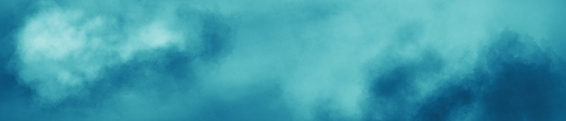
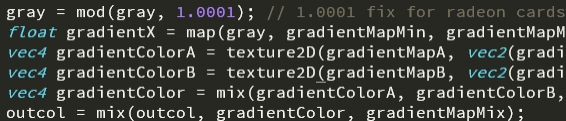
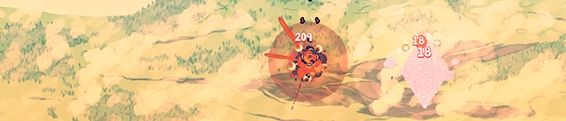
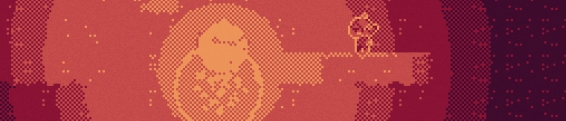
Instead I just exported all of my assets in grayscale and also exported the gradient. I then applied a relatively simple shader just to apply that gradient map to the image. In Otter I'm using a Surface to render the entire sky to. That surface then has the shader along with the gradient texture. The result looks like this:
It looks incredibly cool in motion, but unfortunately it's tough to show it without a full video recording. There's too many colors going on for a gif to really show how cool it looks.
A cool side effect of using a shader with a real time gradient map application is that I can switch to a different gradient and the sky can be totally different. For example I can take a gradient that looks like this:

And the sky then looks like this:

So I turned to my old friend Photoshop for some advice. I played around with various ways of making a cool looking sky, and I eventually I came back around to using a Gradient Map to manage the colors of a black and white image. If you didn't know, I'm a huge fan of using gradient maps. When it comes to high resolution art I tend to have a lot of trouble with choosing palettes and maintaining that palette through the painting. It's really easy to muddy up the colors if I start eye dropping the wrong parts of the image, and working in high res really makes me miss the amount of control I have over my palette when working with pixel art... but gradient maps are a good band aid for this!
I feel like a broken record with gradient maps so I won't go into too much detail for this post on what they are. To put it simply an image's colors can be remapped to a new set of colors based on lightness. Here's a quick example of what that means.
So how can I use this for painting skies? By using a gradient map to take care of all the colors all I have to do is paint up something in grayscale first...
And then I can spend a little time making a nice sky colored gradient...
Then I can apply that to the image as a gradient map and like some kind of magic my image has awesome colors!
My idea for the sky at this point was to have one static sky image, and then decorate it with a bunch of varied cloud sprites. The total amount of assets I use for rendering the sky are as follows:
My first thought at this point was to just apply the gradient map to the asset directly and export it with the blue colors baked in. If I did it that way then I wouldn't need to worry about using any shaders in the game, and I thought that would be the best bet, but I quickly ran into an issue with the color.
It turns out baking a gradient map into an image with alpha has pretty undesirable results. Check out how one of the clouds look when the gradient map is baked in.
When using these sprites on top of an already baked in sky background I end up getting some colors that are less than ideal. Some parts come out grey and white and black which can look pretty ugly. So I ended up scrapping the whole baked in gradient map idea.
Instead I just exported all of my assets in grayscale and also exported the gradient. I then applied a relatively simple shader just to apply that gradient map to the image. In Otter I'm using a Surface to render the entire sky to. That surface then has the shader along with the gradient texture. The result looks like this:
It looks incredibly cool in motion, but unfortunately it's tough to show it without a full video recording. There's too many colors going on for a gif to really show how cool it looks.
A cool side effect of using a shader with a real time gradient map application is that I can switch to a different gradient and the sky can be totally different. For example I can take a gradient that looks like this:
And the sky then looks like this:


Post your comment!