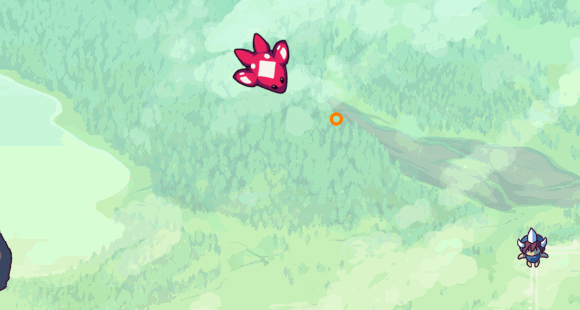
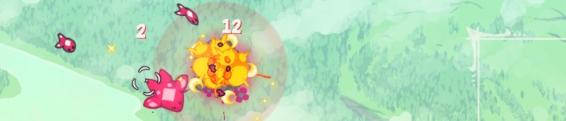
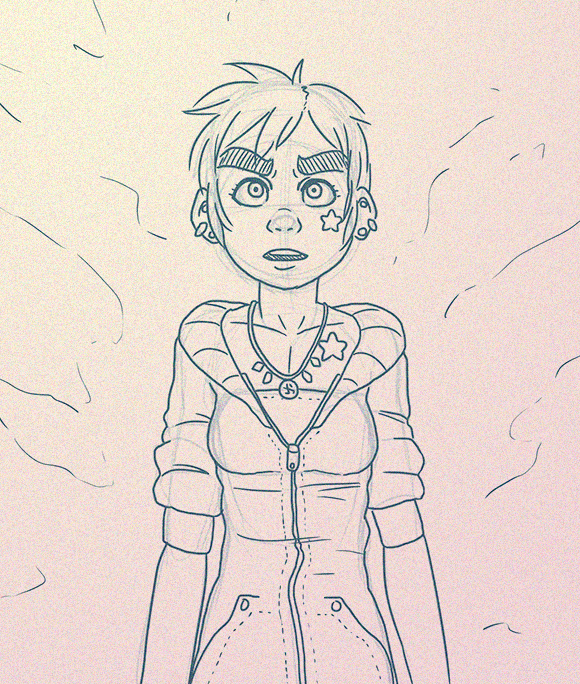
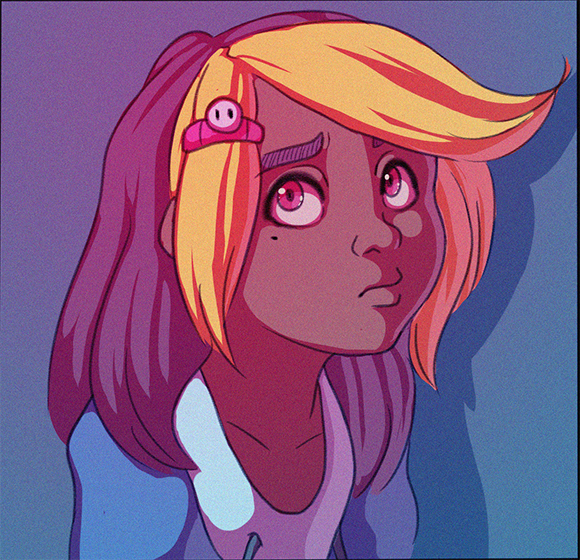
I moved to a new URL! Check it out!

Doodle Post

Image

Dev Log: Impact Effects

Dev Log: Impact Effects
Whoops, been kinda neglecting my poor blog for a week. I've been making some progress on my fancy game project though! Just have been forgetting to post about it.

Image


One of the things I tackled over the last couple of days was adding more visual effects for stuff like damage impacts. I want damage to feel over the top juicy at all times so that every impact is really felt by the player. The effect I ended up with for damage impacts is an inverted flash combined with some red colored mixing and additive blending.

Image


Right now I'm using one utility shader that has a bunch of parameters on it for various effects. Check it out:
#version 120
uniform sampler2D texture;
uniform sampler2D noiseTexture;
uniform vec4 overlayColor;
uniform vec4 additiveColor;
uniform vec4 subtractiveColor;
uniform float overlayNoise;
uniform float inverted;
uniform float noiseX;
uniform float noiseY;

void main() {
//get color of this pixel
vec2 pixpos = gl_TexCoord[0].xy;
vec4 pixcol = texture2D(texture, pixpos);

vec4 outcol = abs(inverted-pixcol);
outcol.a = pixcol.a;

//mix in the overlay color
outcol = mix(outcol, overlayColor, overlayColor.a);

//add the additive color
outcol += additiveColor * additiveColor.a;

//subtract the subtractive color (DUH)
outcol -= subtractiveColor;

vec4 noiseColor = texture2D(noiseTexture, mod(pixpos, 1) + vec2(noiseX, noiseY));
outcol = mix(outcol, noiseColor, overlayNoise);

//reset alpha to prevent coloring transparent pixels
outcol.a = pixcol.a;

//output the final color
gl_FragColor = outcol;
}
I'm still learning the ins and outs of shaders so this probably isn't the best way to do this, but for now it seems to be working out fine.

Along with this shader there is some code in my "Combatant" component to control the shader. The Combatant has a timer that is set whenever it takes damage. This timer is then used to control various parameters on the shader. Every 2 frames the image is inverted using the shader. When the image is inverted there's a red additive color blend applied to the image, and when the image is not inverted there is a normal red color mix applied. The intensity of the color mix is determined by the timer. It starts very intense then fades away.

On top of that another texture is blended with the image. The other texture is just a simple image of generated noise. I'm not totally sure why, but for some reason I like the noise texture along with the rest of the effects. It kind of represents a disruption to the target taking damage, or something poetic like that.

Last but not least the image also shakes around a bit. This is something I first noticed a lot while playing Street Fighter 4. An action freeze along with sprite shaking is an incredibly useful way to convey an intense impact.

Here's the little blurb of code that handles the effects for Combatants
//Handle graphics
foreach (var img in Images) {
var overlay = Util.ScaleClamp(StunEffect, 0, StunEffectMax, 0, 0.5f);
var color = new Color(Color.Black) { A = overlay };
var addColor = new Color(StunColor) { A = overlay };

img.Shader.SetParameter("overlayNoise", overlay * 0.5f);
img.Shader.SetParameter("noiseX", Rand.Float(0, 0.25f));
img.Shader.SetParameter("noiseY", Rand.Float(0, 0.25f));

if (StunEffect > StunEffectMax * 0.25f) {
addColor.A = 0.5f;
color = G.Colors.Dark;
color.A = 0.25f;
img.Shader.SetParameter("inverted", StunEffect % 4 > 1 ? 1 : 0);
}
else {
img.Shader.SetParameter("inverted", 0);
}

img.Shader.SetParameter("overlayColor", color);
img.Shader.SetParameter("additiveColor", addColor);

img.Shake = Util.ScaleClamp(StunEffect, 0, StunEffectMax, 0, 30);
}
Along with the impact effects the Bullet entities have an impact effect to help show damage. If bullets hit something and deal damage they spawn a small red and yellow explosion, and if they don't do damage then the particle is blue and cyan. This is something I saw when I played a lot of Thunder Force III as a kid!

Dev Log: Quick Lighting Test

Dev Log: Quick Lighting Test
As a quick experiment I wanted to see how Otter would be equipped to handle a simple lighting set up. The basic set up is just a big render texture that is filled with a dark color with a blend mode set to multiply. Then light is rendered to the render texture with a blend mode of additive. The result is a layer of shadow that can have light rendered to it.

Image


The code for this set up right now is pretty straight forward as well. I'm using a black and white image for the light. Just a black rectangle with a white radial gradient in the center.

Here's some sample code to show how this effect is achieved with Otter!
//set up the surface
public Surface SurfaceLighting = new Surface(Game.Instance.Width, Game.Instance.Height, new Color("379")) {
Blend = BlendMode.Multiply
};

//set up the light
public Image ImageLight = new Image(Assets.ImageLight1) {
Blend = BlendMode.Add
};

//add the surface to an entity to render it
//this happens in an object's initialization
AddGraphicGUI(SurfaceLighting);

//render light to the surface
//this happens in a Render() function
Draw.SetTarget(SurfaceLighting);
ImageLight.Color = Color.White;
Draw.Graphic(ImageLight, Input.MouseX, Input.MouseY);
ImageLight.Color = Color.Red;
Draw.Graphic(ImageLight, Input.MouseX + 500, Input.MouseY);
ImageLight.Color = Color.Blue;
Draw.Graphic(ImageLight, Input.MouseX - 500, Input.MouseY);
Draw.ResetTarget();

Doodle Post

Image

Dev Log: Pathfinding Fun

Image


Like a cat chasing a laser pointer, I have some basic enemies chasing paths through the skies.

Right now I'm using A* and although I don't really know what is going on that much, I have a system that enemies can use to find paths to their destinations. Normally I wouldn't bother with any sort of path finding, but for this game I want enemies to have to intelligently navigate through obstacles that the player is deploying, so my usual "make up a path finding function that doesn't actually path find but sometimes works out" function wont cut it.

What I have currently is a pretty straight forward set up:
- One PathFinder instance in my Scene. It extends Entity so that it can be updated by the scene automatically.
- Enemies request a path from PathFinder and also register a callback Action with the request.
- The PathFinder instance adds the request to the queue.
- Every update the PathFinder will take the top item of the queue and start the path finding process.
- The actual A* algorithm and calculations are run on a BackgroundThread so that the game can continue while this is going on.
- When the path is done calculating the callback is fired, and the enemy now knows about its path.
- It chases down the nodes that were added to its path.

I made a quick change to the A* algorithm as well under the sage advice of Chevy Ray: I'm using a maximum movement value that will stop the algorithm if the move costs become too high. The result is that the algorithm will return a partial path to the final target instead of the entire path (which could take a long time to calculate in a set of nodes with a lot of open spaces.) So with this in mind the rest of my logic looks like this:

- When the enemy reaches the last node, it checks to see if its close to its intended target.
- If not it requests a new path to its target.
- If it is then it will enter its attack behavior, whatever that is.

So far this seems to be working out pretty well. I have a lot of work to do with how enemies will end up treating their path nodes in regards to their actual movement. Right now they just try to move toward each node, but with a lot of nodes together they end up having some trouble, like that wiggling in the animation above. Something like an averaged out path between a lot of nodes might work better... hmm!

Doodle Post

Image